How I Edit My Photos
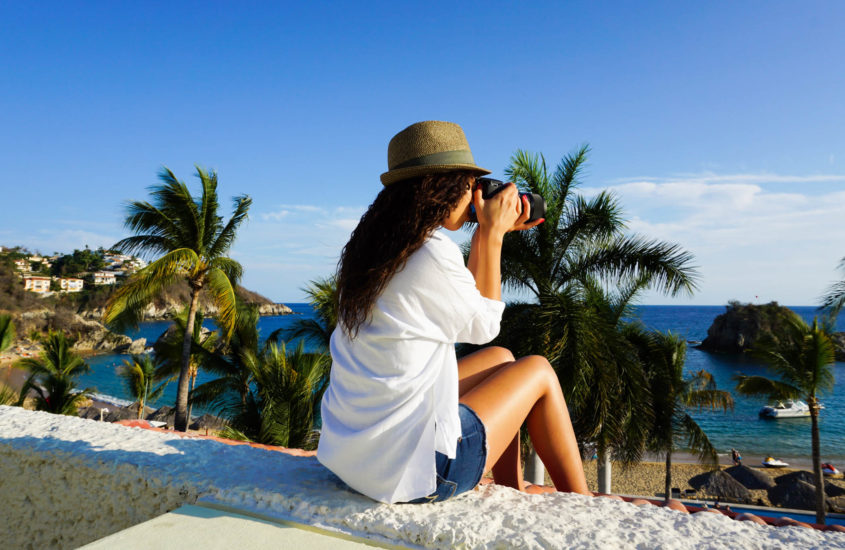
I’m excited to do this post because it’s all about editing photos! I loooove me a good edit. I’ve been a little MIA lately (oops!) and I haven’t done a post since Tim proposed. If you haven’t seen our actual proposal video, watch it here! Now that I have my head out of the clouds, I want to share my editing routine with you!
I use a few different things when I edit and that all depends on what platform I’m editing for. Let’s start with Lightroom (Lr). I’ll use Lightroom for all of my blog photos, which will also get cross promoted on my socials.
When I first discovered Lightroom the first thing I did was purchase a VSCO preset. VSCO presets are basically filters that are used within Lightroom. Selecting the same preset for all my images allows my blog photos to remain consistent. For a better idea of this, think of how we post images on Instagram. First, we select a filter then we edit. Lightroom is very similar to that, only with a lot more detail.
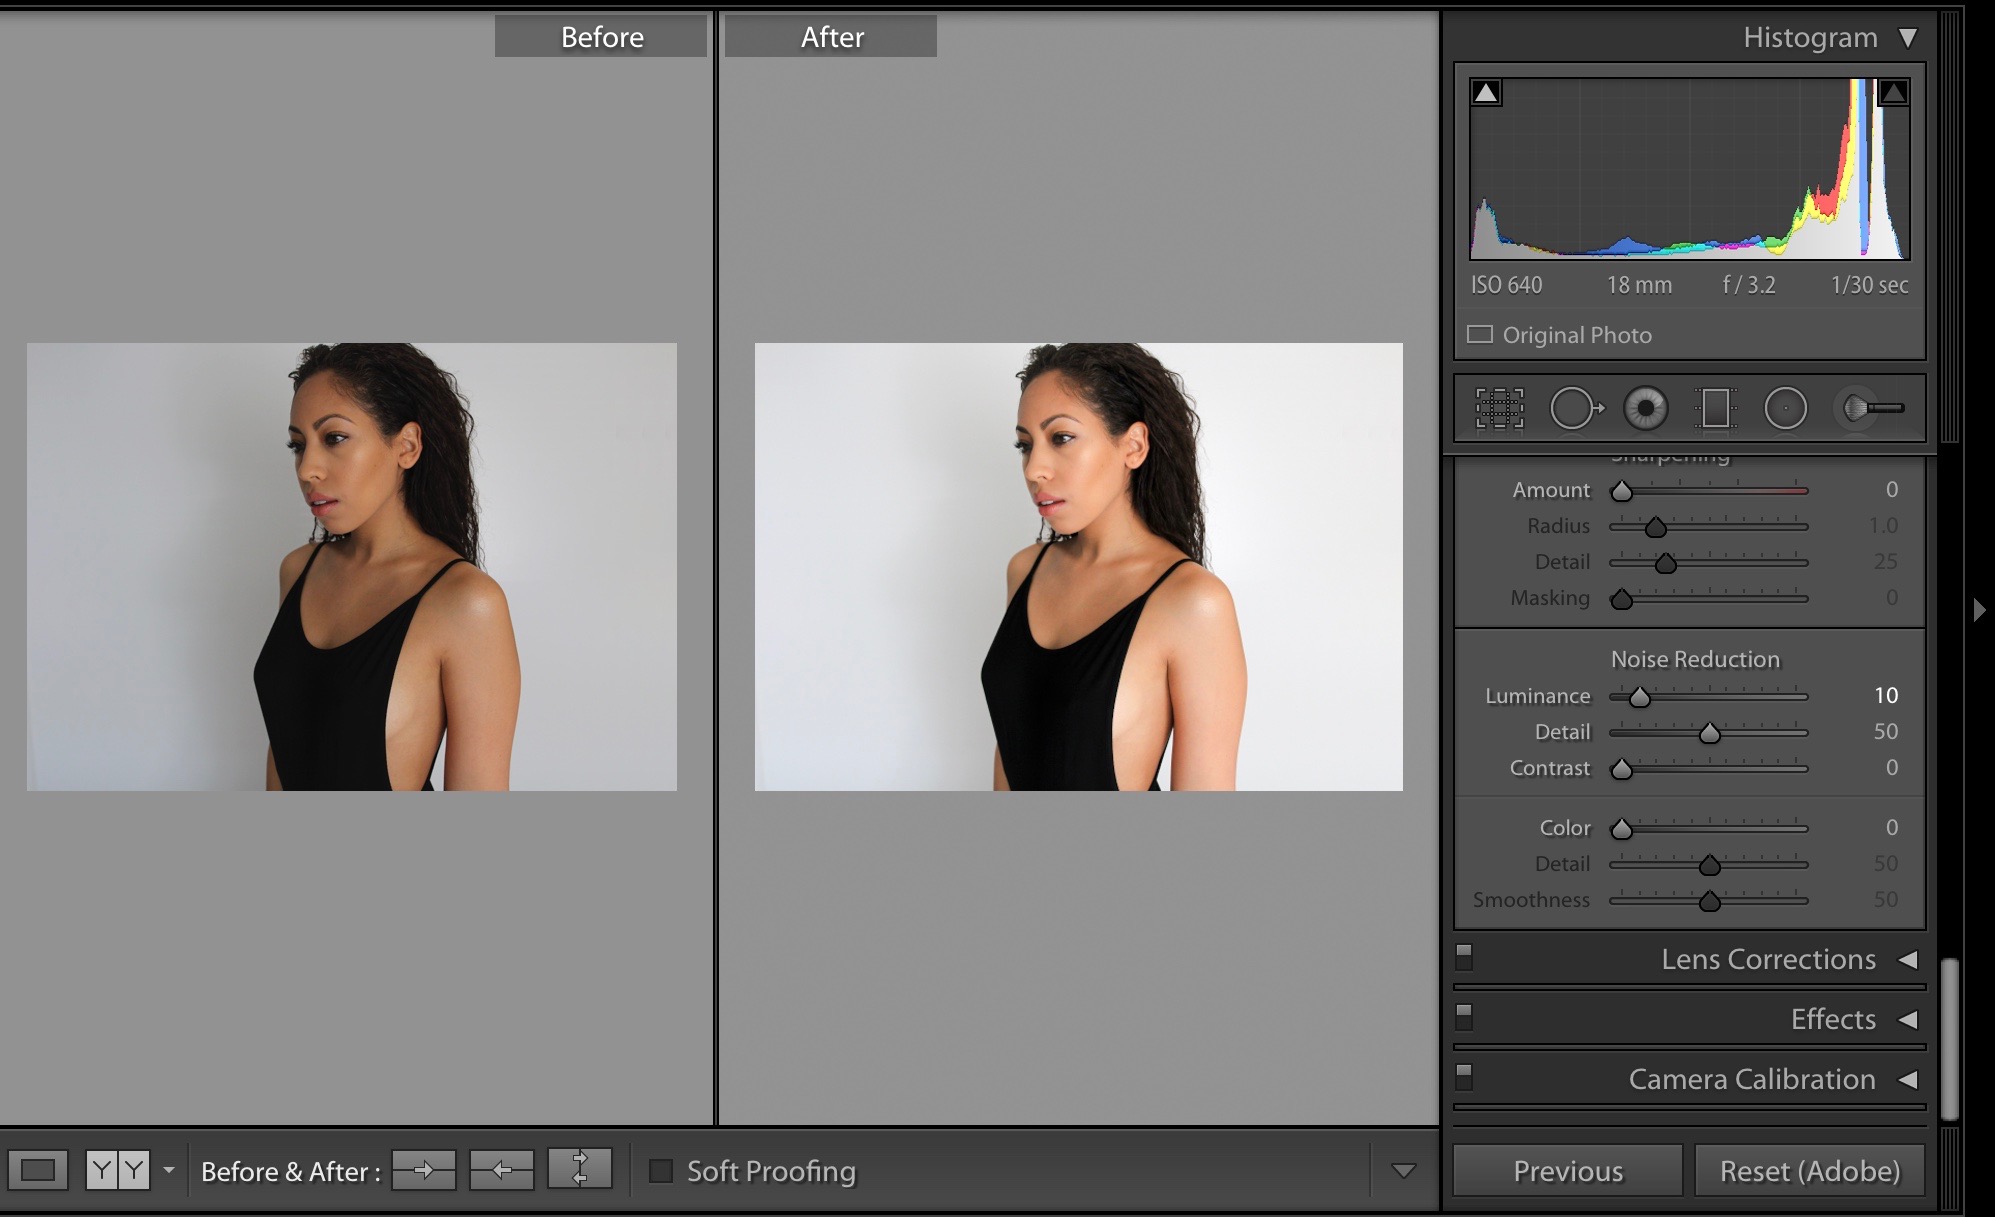
After I choose my preset, the main things I’ll adjust in Lightroom are:
- Exposure/Contrast
- Highlights/Shadows
- Whites/Blacks
- Vibrance & Saturation
- Luminance
- Retouch/Spot Removal
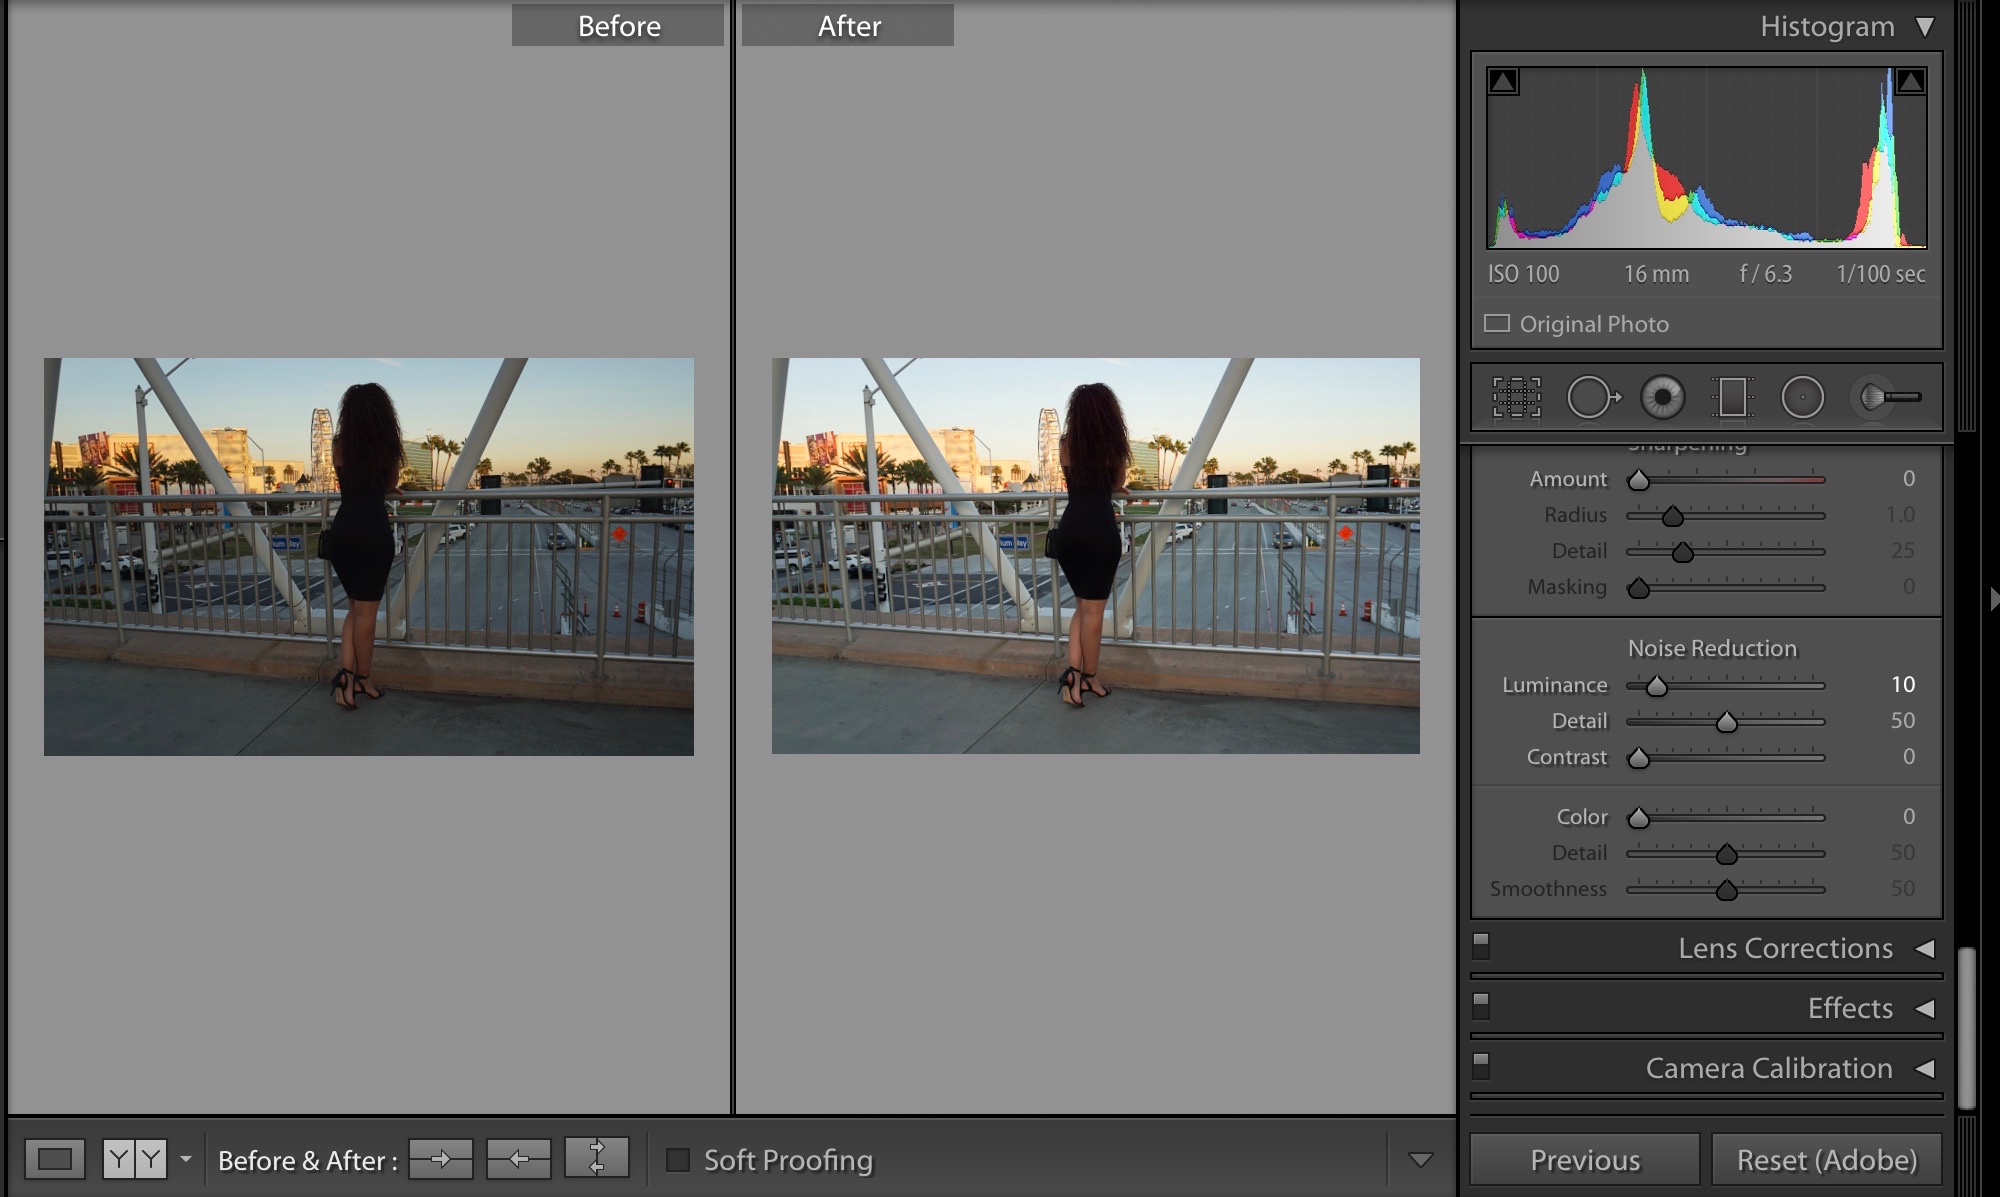
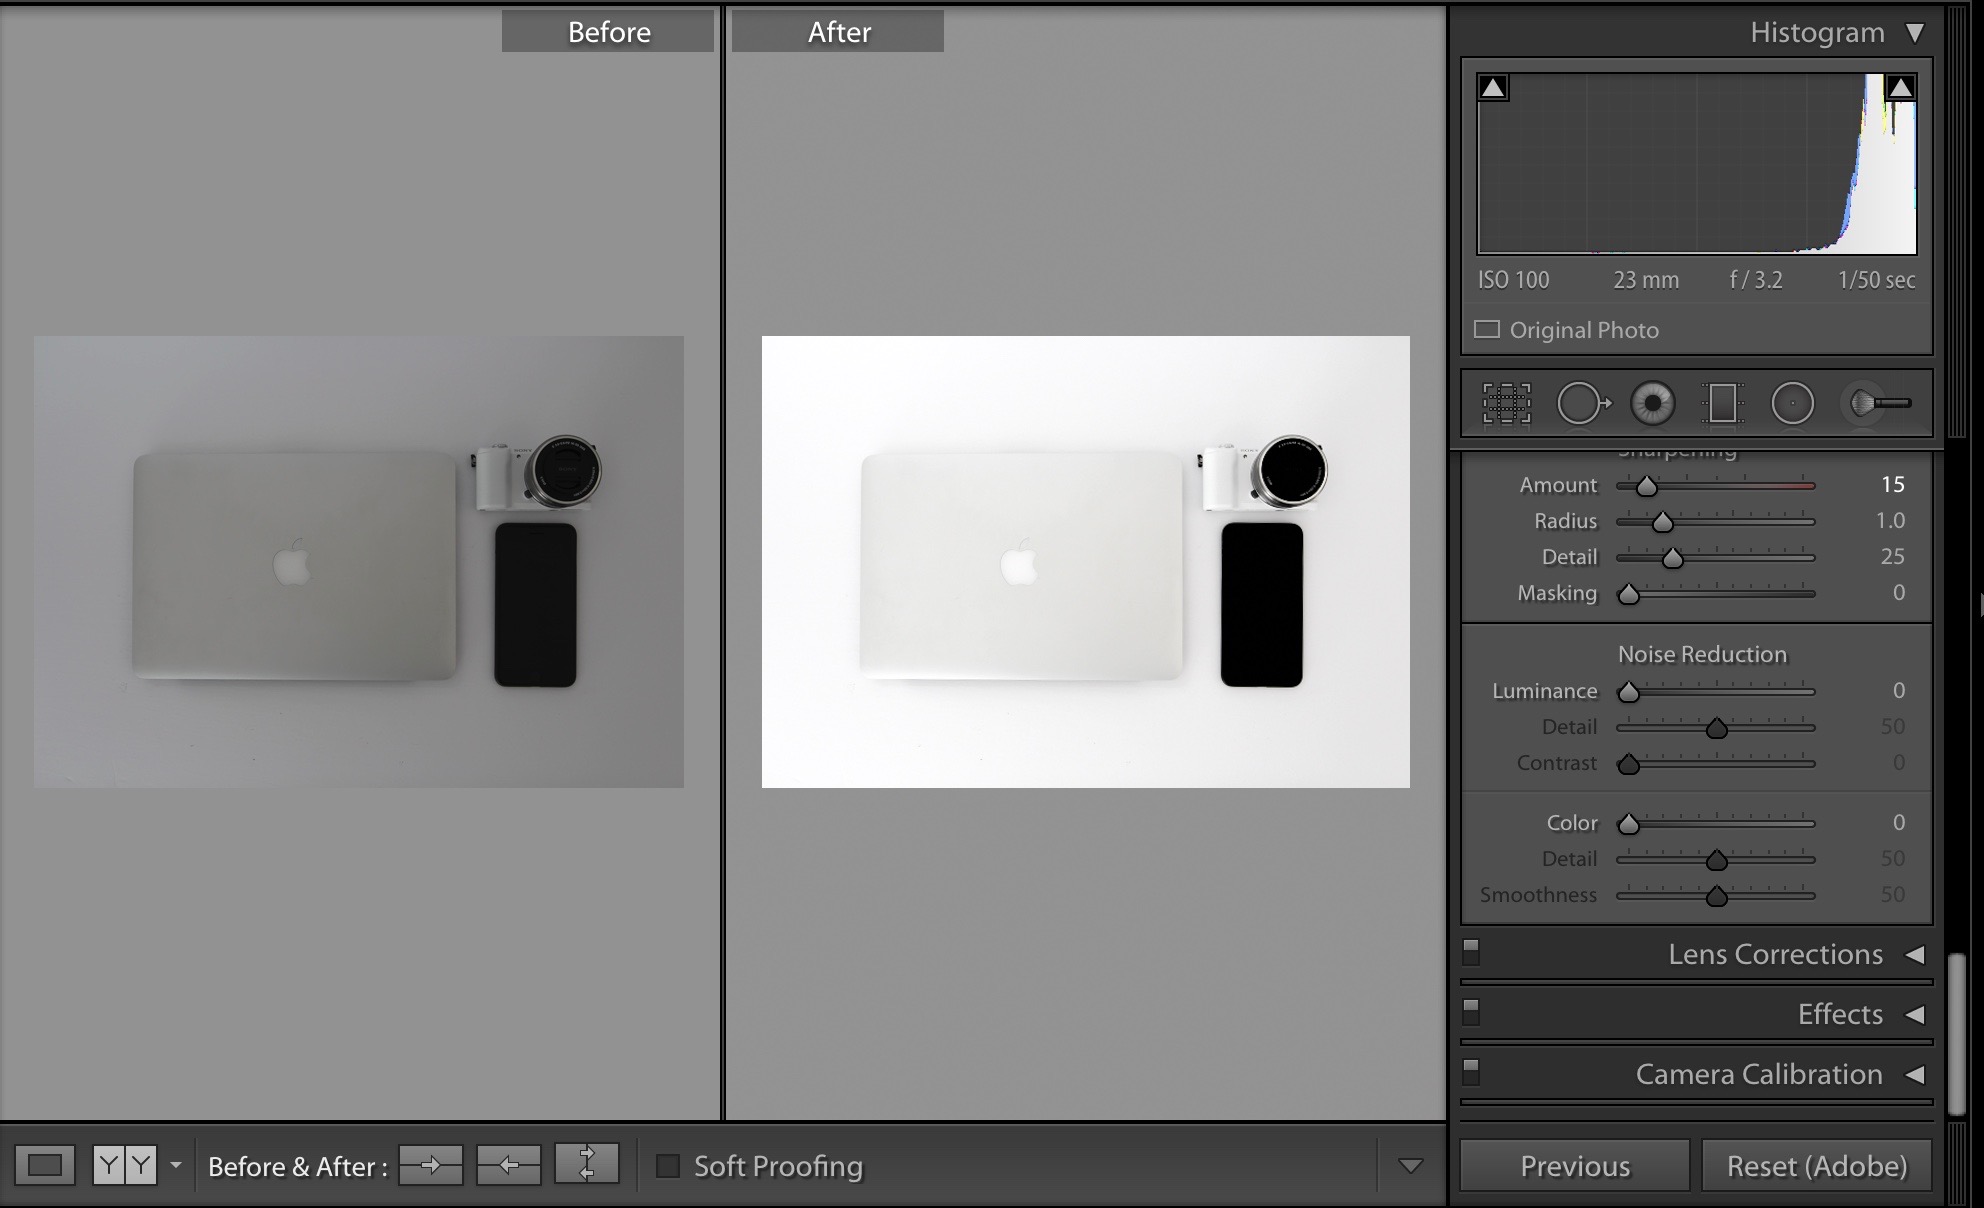
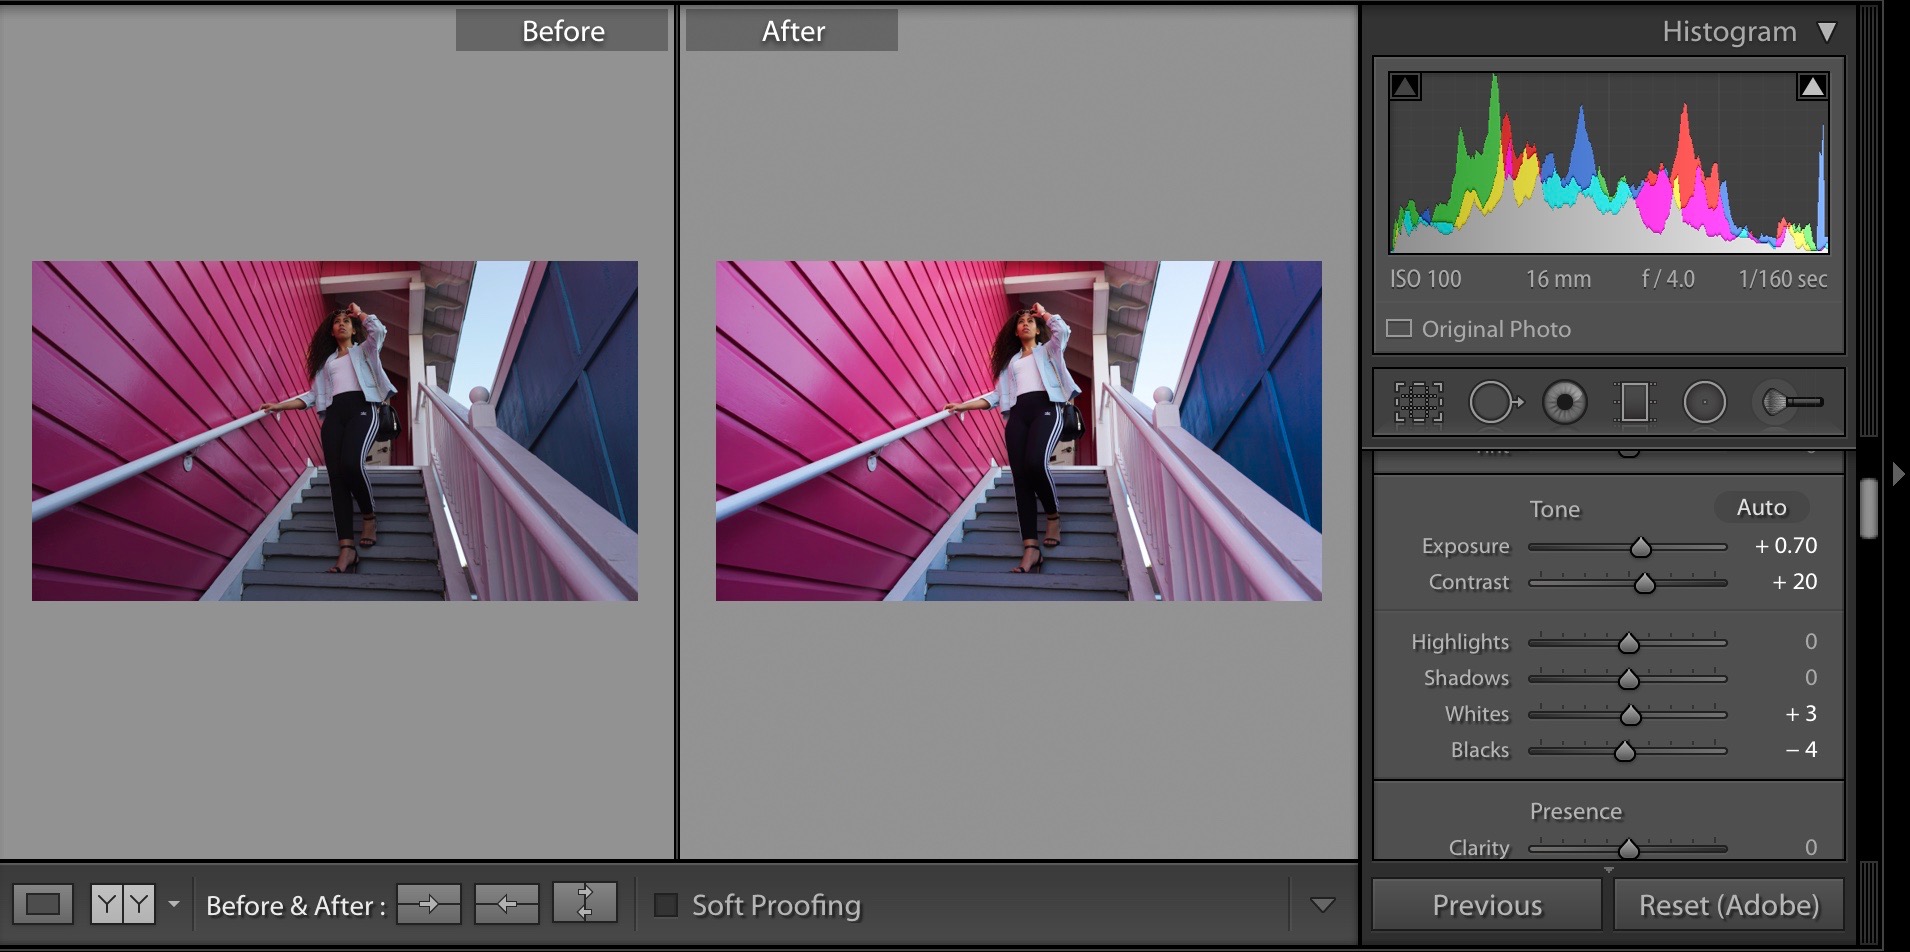
Here are a few images (before and after) that have been edited in Lightroom. These are very simple edits, but it makes the biggest difference. I like my whites to be crisp, colors to be bold, and my exposure not too low or high.
One thing that I loooove about Lightroom is you can copy all your adjustments from one photo and paste them to the next image of the same blog post. That way consistency and (efficiency) is at an ultimate high.
I was a little overwhelmed with Lightroom in the beginning and I had some help learning how to navigate around. If I can do it, you can do it! And believe me, I’m still learning things as I go. Oh, I should mention that I incorporate Photoshop when it’s necessary for my images. My skills are super limited with Photoshop, but I’m learning! Thank goodness for me, my friend Eddy is the king of Photoshop and helps me out a LOT with my edited images- phewf!
Other editing apps I use for social media are Enlight and FaceTune. I’ll use these apps for photos that are solely going to be posted to my Instagram, Twitter, and Facebook accounts.
Enlight has great filters and I love how it makes color very vibrant in my images. Enlight also has the ability to do some super cool edits that are very Photoshop-esque. Those edits can be a bit of a learning curve, but so fun! Luckily for us, Enlight has some great step by step tutorials on how to get these effects. You can check those out here! FaceTune is the best for retouching my skin if I’m having a terrible breakout (like right now- ugh!) It’s super easy to use the patch tool to make that pimple disappear. Check out FaceTune to see what else you can do with it. I’m lovin’ this app- seriously.
If you’re looking to step up your edit game I recommend any of these apps to get you started! Have you tried one of these applications before? If not, what’s your favorite one?




Kari Mitchell
Thank you, Chia! This was very useful – I’ll start applying your tips for my own blog.
Kari
chia
Thanks for reading Kari! Good luck and happy editing =)!
friesandties
I am going to try those out, especially Enlight. I need to step my game up,lol. I need to stop looking like a troll hahah. Lightroom (Lr) looks user-friendly, so I might have to try and do that for my blog!!! Thank you Chia!!
Hope I can one day be on your level of just peachy!!
chia
Thank you for your message, you are too kind! Yes, Enlight is the best! Whichever platform you choose, it takes some playing around and getting used to, but they are so great to enhance your edits =)!
-Chia
Danesha Burke
Thanks for this post. Is there a particular one that you purchased the VSCO that is?
chia
Thank you for reading! I can’t remember which VSCO pack I chose. They change sometimes so I’m not if it’s still the same as it was a couple years ago. It was one that was crisp and bright for some bold color!
Happy hunting!
-Chia