5 Gel Mani Tips

It seems impossible to avoid messing up your nails after you’ve polished them to perfection. This definitely used to be me before I switched over to gel polish. For those who don’t know what gel polish is, it’s a polish that is immediately dried after the top coat is cured.
Uhhhh, yes please!
When light cured polish was first available to the nail industry, I immediately ran to the professional beauty supplier and started practising on myself, family and friends until I got the swing of things. I have done lots of sets and learned what not to do as time went on.
Doing your own gel manis at home is great, but there’s lots to know before you start. I want to share some tips with you so your manicure can be long lasting and beautiful for days to come!
Tip #1 -Choose a shape/length that’s right for you
There are many shapes and lengths to choose from, but it’s important to know which shape/length is going to work with your lifestyle. A round, short nail is strong and low maintenance shape compared to a longer stiletto one. I have always worn my own nails short and square (because they are weaker). I also make sure to soften the edges so they aren’t too sharp.
Tip #2 – Prep is E.V.E.R.Y.T.H.I.N.G.
I don’t care how annoying you think this step is, it’s the absolute most important part of the entire process. The intention of prep is to remove all moisture and push back the cuticles to reveal a smooth nail plate. A dry manicure is best when working with gel polish.
A cuticle tool (or an e-file) will be extremely helpful to push back the cuticles and then a cuticle nipper to remove the excess from the nail. Lightly buff the nail (I use a 100/180 grit buffer) to remove any shine and debris. Lastly, dip a lint-free gauze (or cut paper towel into little squares) into acetone/alcohol and remove any additional oil or dust off the nail.
Tip #3- Focus on applying thin coats
The thinner the coats are, the better you can control the product and get a proper cure. When product is applied too thick it will not cure inside the lamp and will cause premature peeling. Additionally, when there’s too much product on the nail it can flood (bleed into) the cuticle, which can be a pain to clean up and also cause lifting if cured.
When it comes to applying the top coat, you can apply a little more product to properly seal the entire nail.
3 Reasons Why Gel Polish Can Peel
Tip #4- Be patient
Make sure you aren’t doing your nails in a rush. Every stroke is crucial and will result in your manicure lasting or not. Gel polish is much different than regular polish and if not applied properly, it will all be for nothing. If you have no patience, you’re probably better off with just regular polish.
So take your damn time!
Tip #5- Maintain your manicure
Now that you have a beautiful manicure, you’ll want to apply cuticle oil several times a week and file the edges to keep them smooth. I oil mine with any oil I can get my hands on; coconut oil. avocado oil, rose hip oil and argan oil are my go-to’s. I will maintain my length by giving it a quick micro-file every few days.
For more info, I did an entire post about cuticle oil, check it out here. As well as a post about how to make your mani last, click here!
Hopefully some of these tips will help you along your nail journey if you are new or looking to perfect the gel mani. Don’t be discouraged if you can’t get your sets to last, it just takes practise and lots of it. I wish I took a photo of the first set I ever did… let me tell you, it was not cute. And I’m pretty sure it only lasted 2 days.
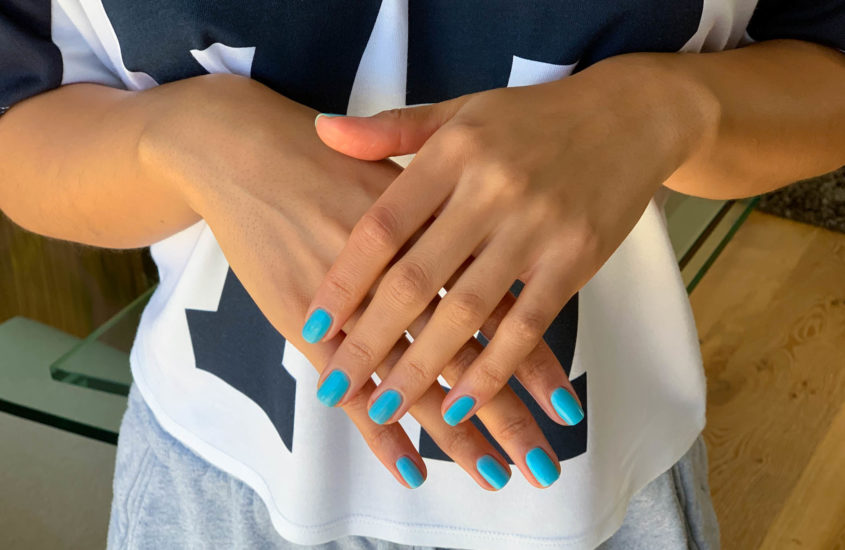
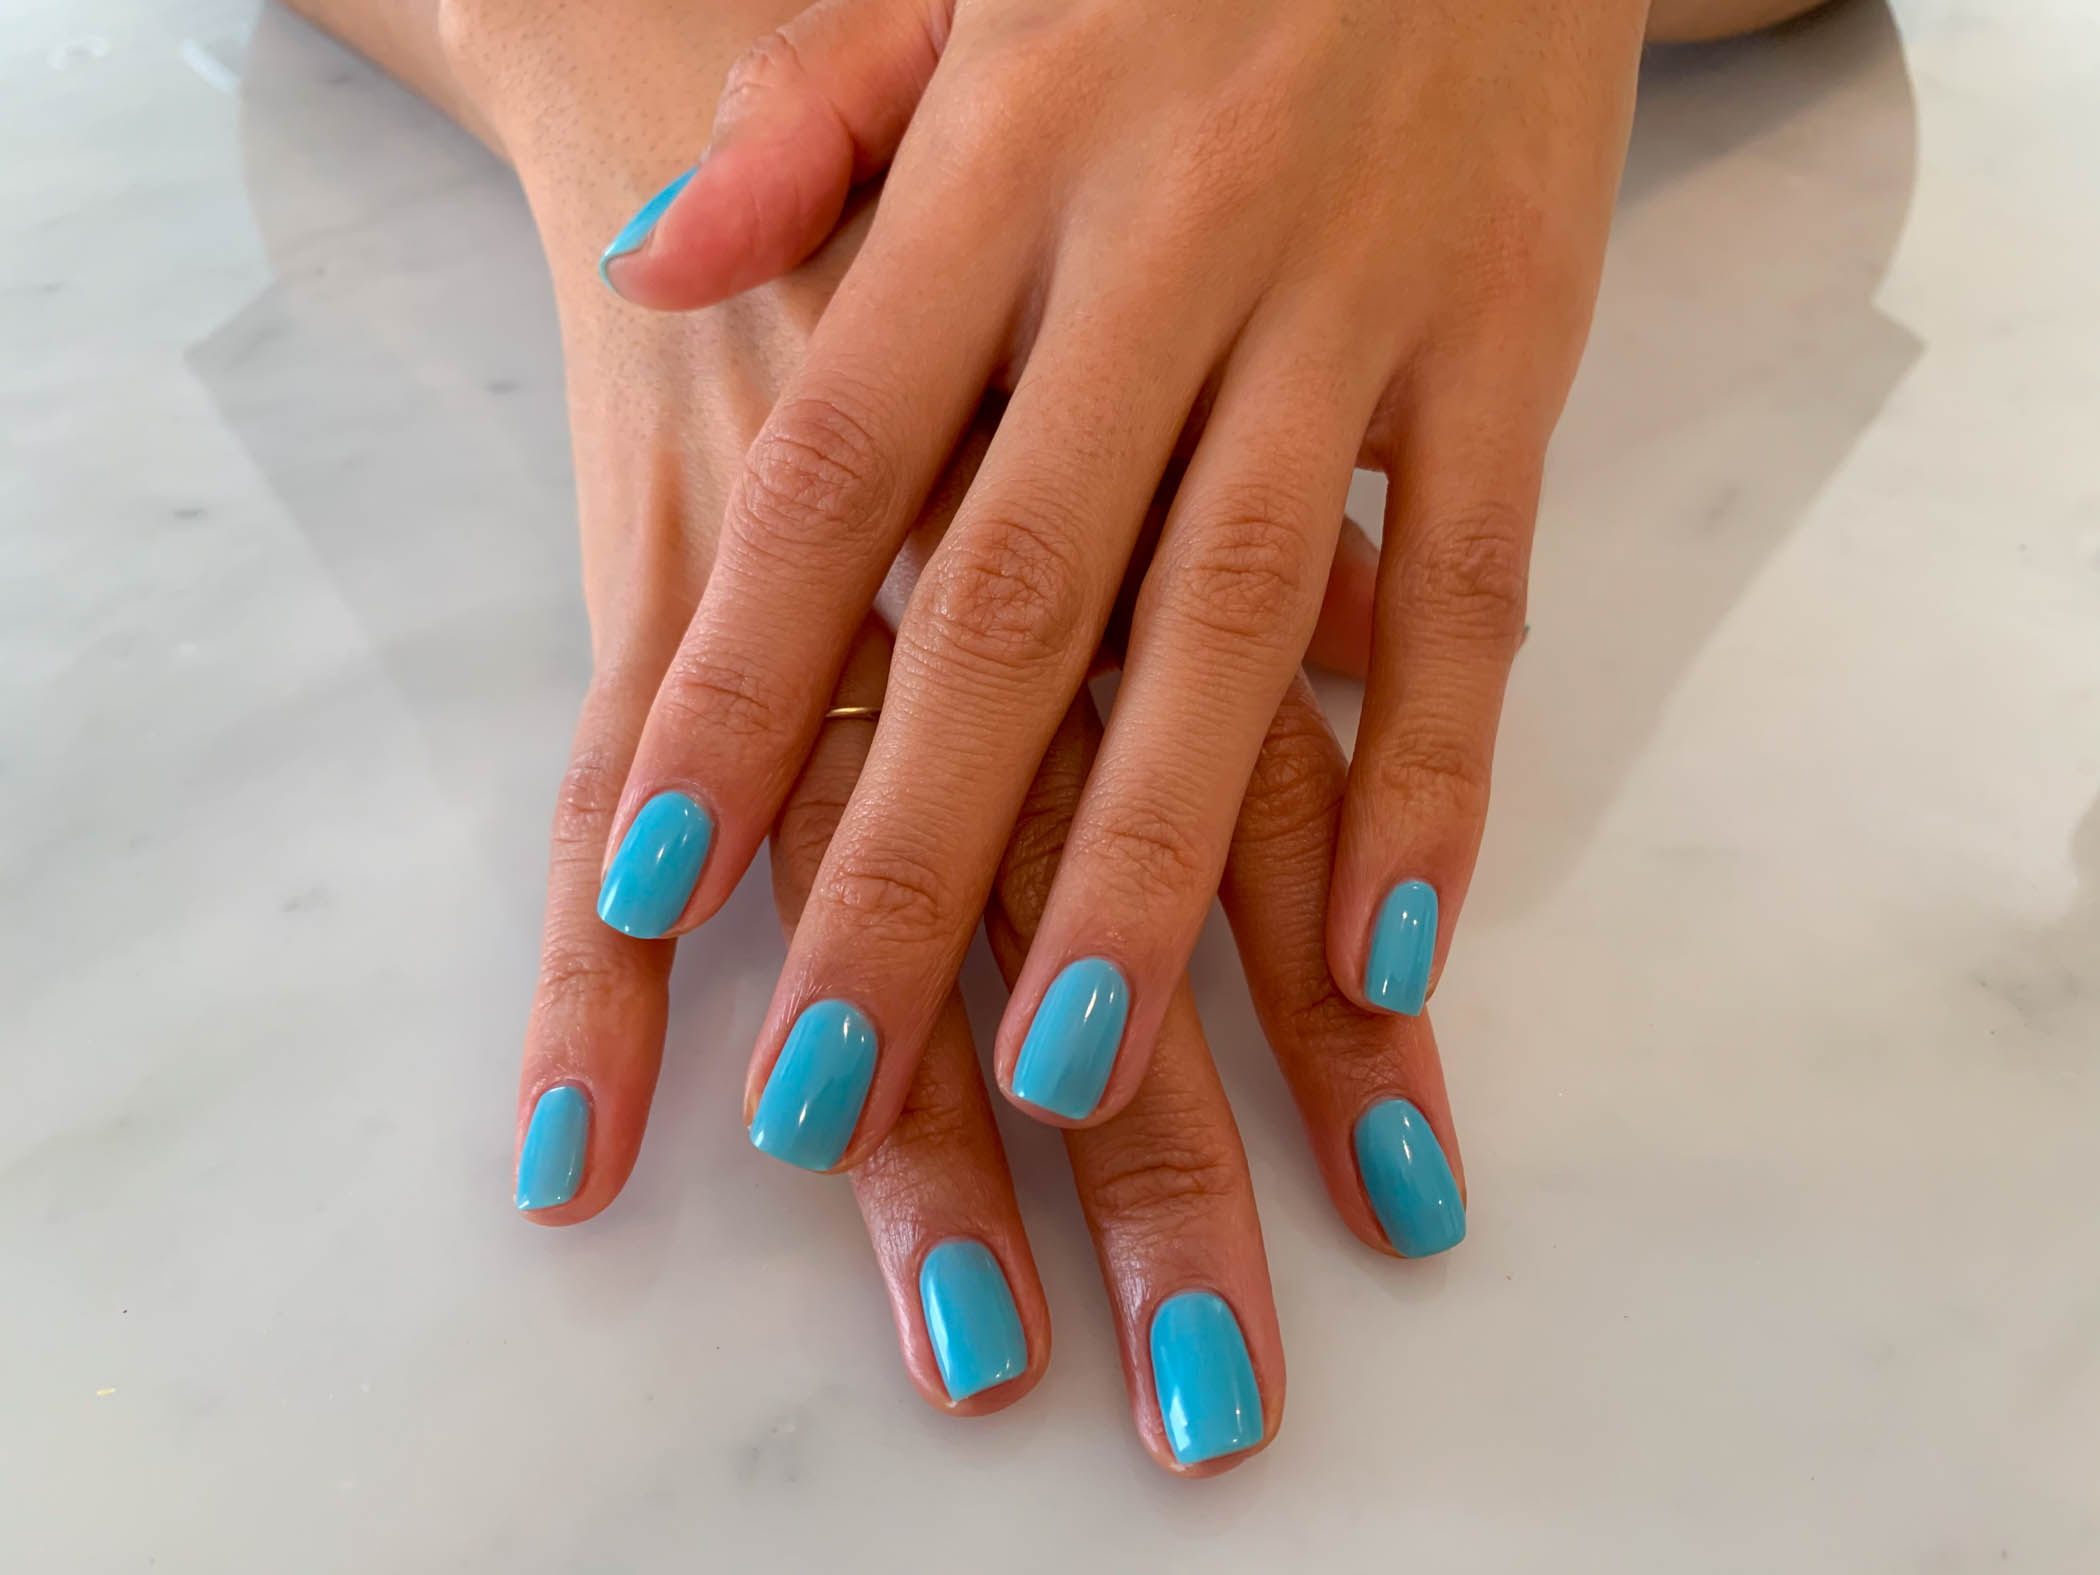
I’m wearing color “Can’t Find My Czechbook” by OPI. I had a hard time finding the gel version online-it might only be available at a professional supplier (sorrrryyyy). But I did link the regular polish below, for those that may want to scoop it up!
If you have any questions or comments, leave them below!


Iris
Hi Chia !
Thank you, These are some great tips !
I’ve been thinking about getting mine done but my job requires a lot of labor. I think I’ll give this a try 😊
But my question is…
What do you use on your skin? It looks AMAZING 🙌🏽.
I have extremely dry hands and I can’t seem to find anything to get some moisture back into them. Do you have any tips or Recommendations?
Thank you,
I love the blog 💞
chia
Hello Iris!
Thank you for your sweet words =) And remember, practise makes perfect – you can do it! For body care, I use a looot of oils. I find it’s more hydrating when I’m feeling extra dry. My skin loves it!
Thank you for continuing to read Just Peachy!
Xoxo
Chia
Dee
omg thank you so much for this. I’ve been saving up about to buy a lamp and some gel polishes for the first time (been inspired since i saw the ‘gun fingers manicure you had in one of Tim’s vlogs) .
This is just what I needed xx
chia
Hi Dee-
You’re so welcome! Hahaha that is sooo funny that you mentioned the “gun fingers” because Tim brings that up all the time. So happy that this post may come of use to you when you finally buy a lamp. Practice makes perfect- you’ll be great, babe!
-Chia
Maisy
Hey Chia, as someone who has recently bought the whole gel kit this post was very useful so thanks! The main thing I hate the most and find really difficult is removing the gel polish. I soak acetone on a cotton round and wrap it around each nail with foil but it doesn’t work very well and I still have to file the whole thing off. Any recommendations?
chia
Hi Maisy!
Thank you for your question! I’m so glad this post came at a perfect time for you. You put the energy into the universe – haha. I get this question a lot and I’m so happy to help. Be sure that you are buffing/roughing up the existing polish prior to soaking. By doing this, you will be breaking the Top Coat seal and allowing the acetone to soak the color directly. Also make sure you are soaking for at least 5-10 mins and keeping the foil nice and tight on the nail. The more you buff the surface, the less time you will need to soak.
I hope that makes sense and helps your removal process! You’ll have to send me a message and let me know how it goes.
-Chia
Amber
Can you make or consider a video of the gel process also maybe a vid on the difference with the “dip”powders, gel, and acrylic do-it-yourself stuff because Simply Nailogical doesnt nor hasnt done that👩🏾🏫. Also maybe a removal guide on dips cause I think I’ve made a grave mistake in dipping my nails without the consideration for the after I don’t need them for my bday on Saturday 🙃 Your blog is cool and i hope you have hundreds of babies. Thanks in advance if you do😊
chia
Hi Amber!
You are full of great ideas. The removal process is a delicate one and requires proper care. Nobody wants damaged nails! As far as a hundred babies go, I will have to think about that one.
Thanks for reading!
Brittney Hutchison
Chia,
Would you think about uploading a video on your gel nail process? Also, what is your take on dip? Can you do dip at home? If so, would you consider making a video on that as well?
chia
Hi Brittney, I plan to do some vids soon- stay tuned! I have so many great Dip products, but I haven’t played around with it yet. I also plan to do that in the near future. I’ve heard great things!
Teshanda
Hi Chia your nails always look amazing! What led lamp do you use?
chia
Teshanda,
Thank you for your comment- you’re the sweetest! I use Artistic Nail Design. I purchased it years ago and still works great!
Annabelle
Hello Chia, how are you? Could you recommend a good reliable led uv lamp. I have read review after review, but I just cannot decide. Which lamp do you use?
chia
Hi there!
The one I use is by Artistic Nail Design. I’ve had it for years and still works great! There are several great brands to buy from. Have you looked in Artistic, Gelish, or OPI?
Elizabeth
Hi Chia,
I’m here from Instagram …
I saw you post Do nails need to breathe?
But cant find the answer to that on here , any help ? (:
chia
Hi love!
Thank you for your comment =). Here is the post below!
https://www.justpeachy.co/beauty/nails-need-breathe/
Xo
Chia
Janille
Hey Chia,
If u love gel manicures you’ll love dip powder you gotta try it and lemme know.
I came for insta and love the blogs asthetic. Sending all love to u and Tim.😘😁