Ombré Nail Art

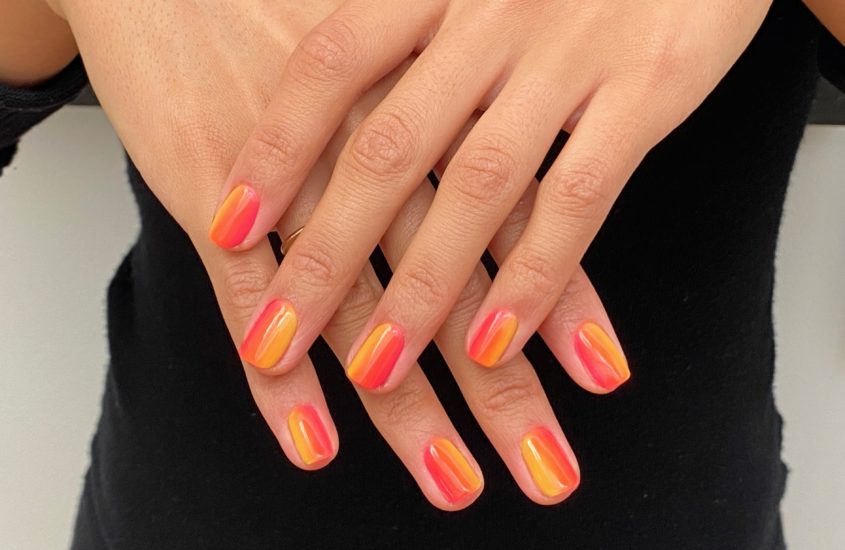
An ombré nail is such a fun way to spice up your nails. I’m usually a solid nail girl, but on occasion I want something different. Here are some tips and my technique when fusing two colors together to achieve an ombré look.
Before watching my tutorial or attempting this at home remember the following steps that aren’t shown in the video:
- Always start with a thoroughly prepped nail
- Apply a base coat. Cure for 30 secs in LED lamp or 2 mins in a UV lamp
- Apply a coat of strengthener (if needed). Cure for 30 secs in an LED lamp or 2 mins in a UV lamp
- Apply colors of your choice and blend them wet (before curing). I’m using Shake It Till You Samba by Gelish and Freesia by The Gel Bottle.
- You need a wisp/blending brush of some kind. You can also use a makeup sponge or even your finger tip if you have nothing else available. I am using the ombré brush by The Gel Bottle.
This technique can be used for any two colors that you’d like to ombré. If there’s one piece of advice that I can offer it’s this: try not to control the product too much. I know this is much easier said than done, I am totally a control freak and will fight till the end until I’m satisfied. But you’ll spend hours trying to get the product to blend exactly the way you want it, so don’t be such a perfectionist. The beauty of an ombré look is that it’s perfectly imperfect.
Would you try this look?


