How To Make Nail Stickers Last

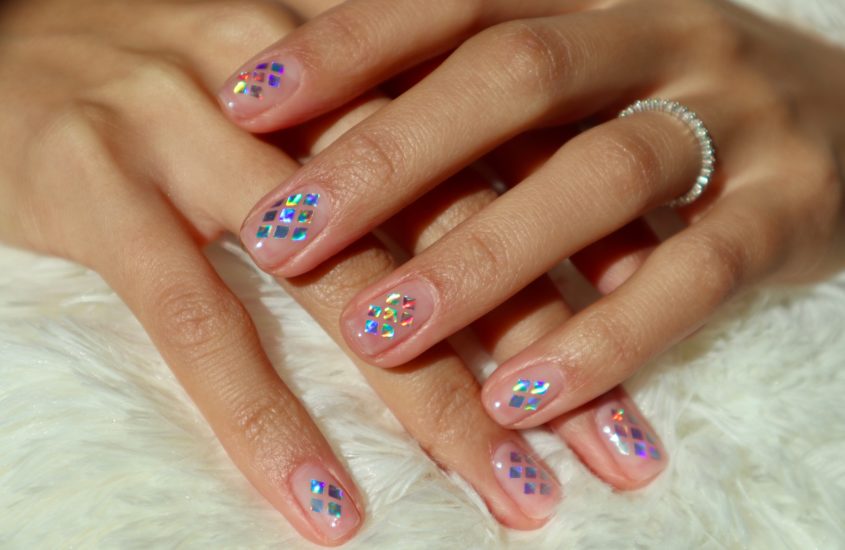
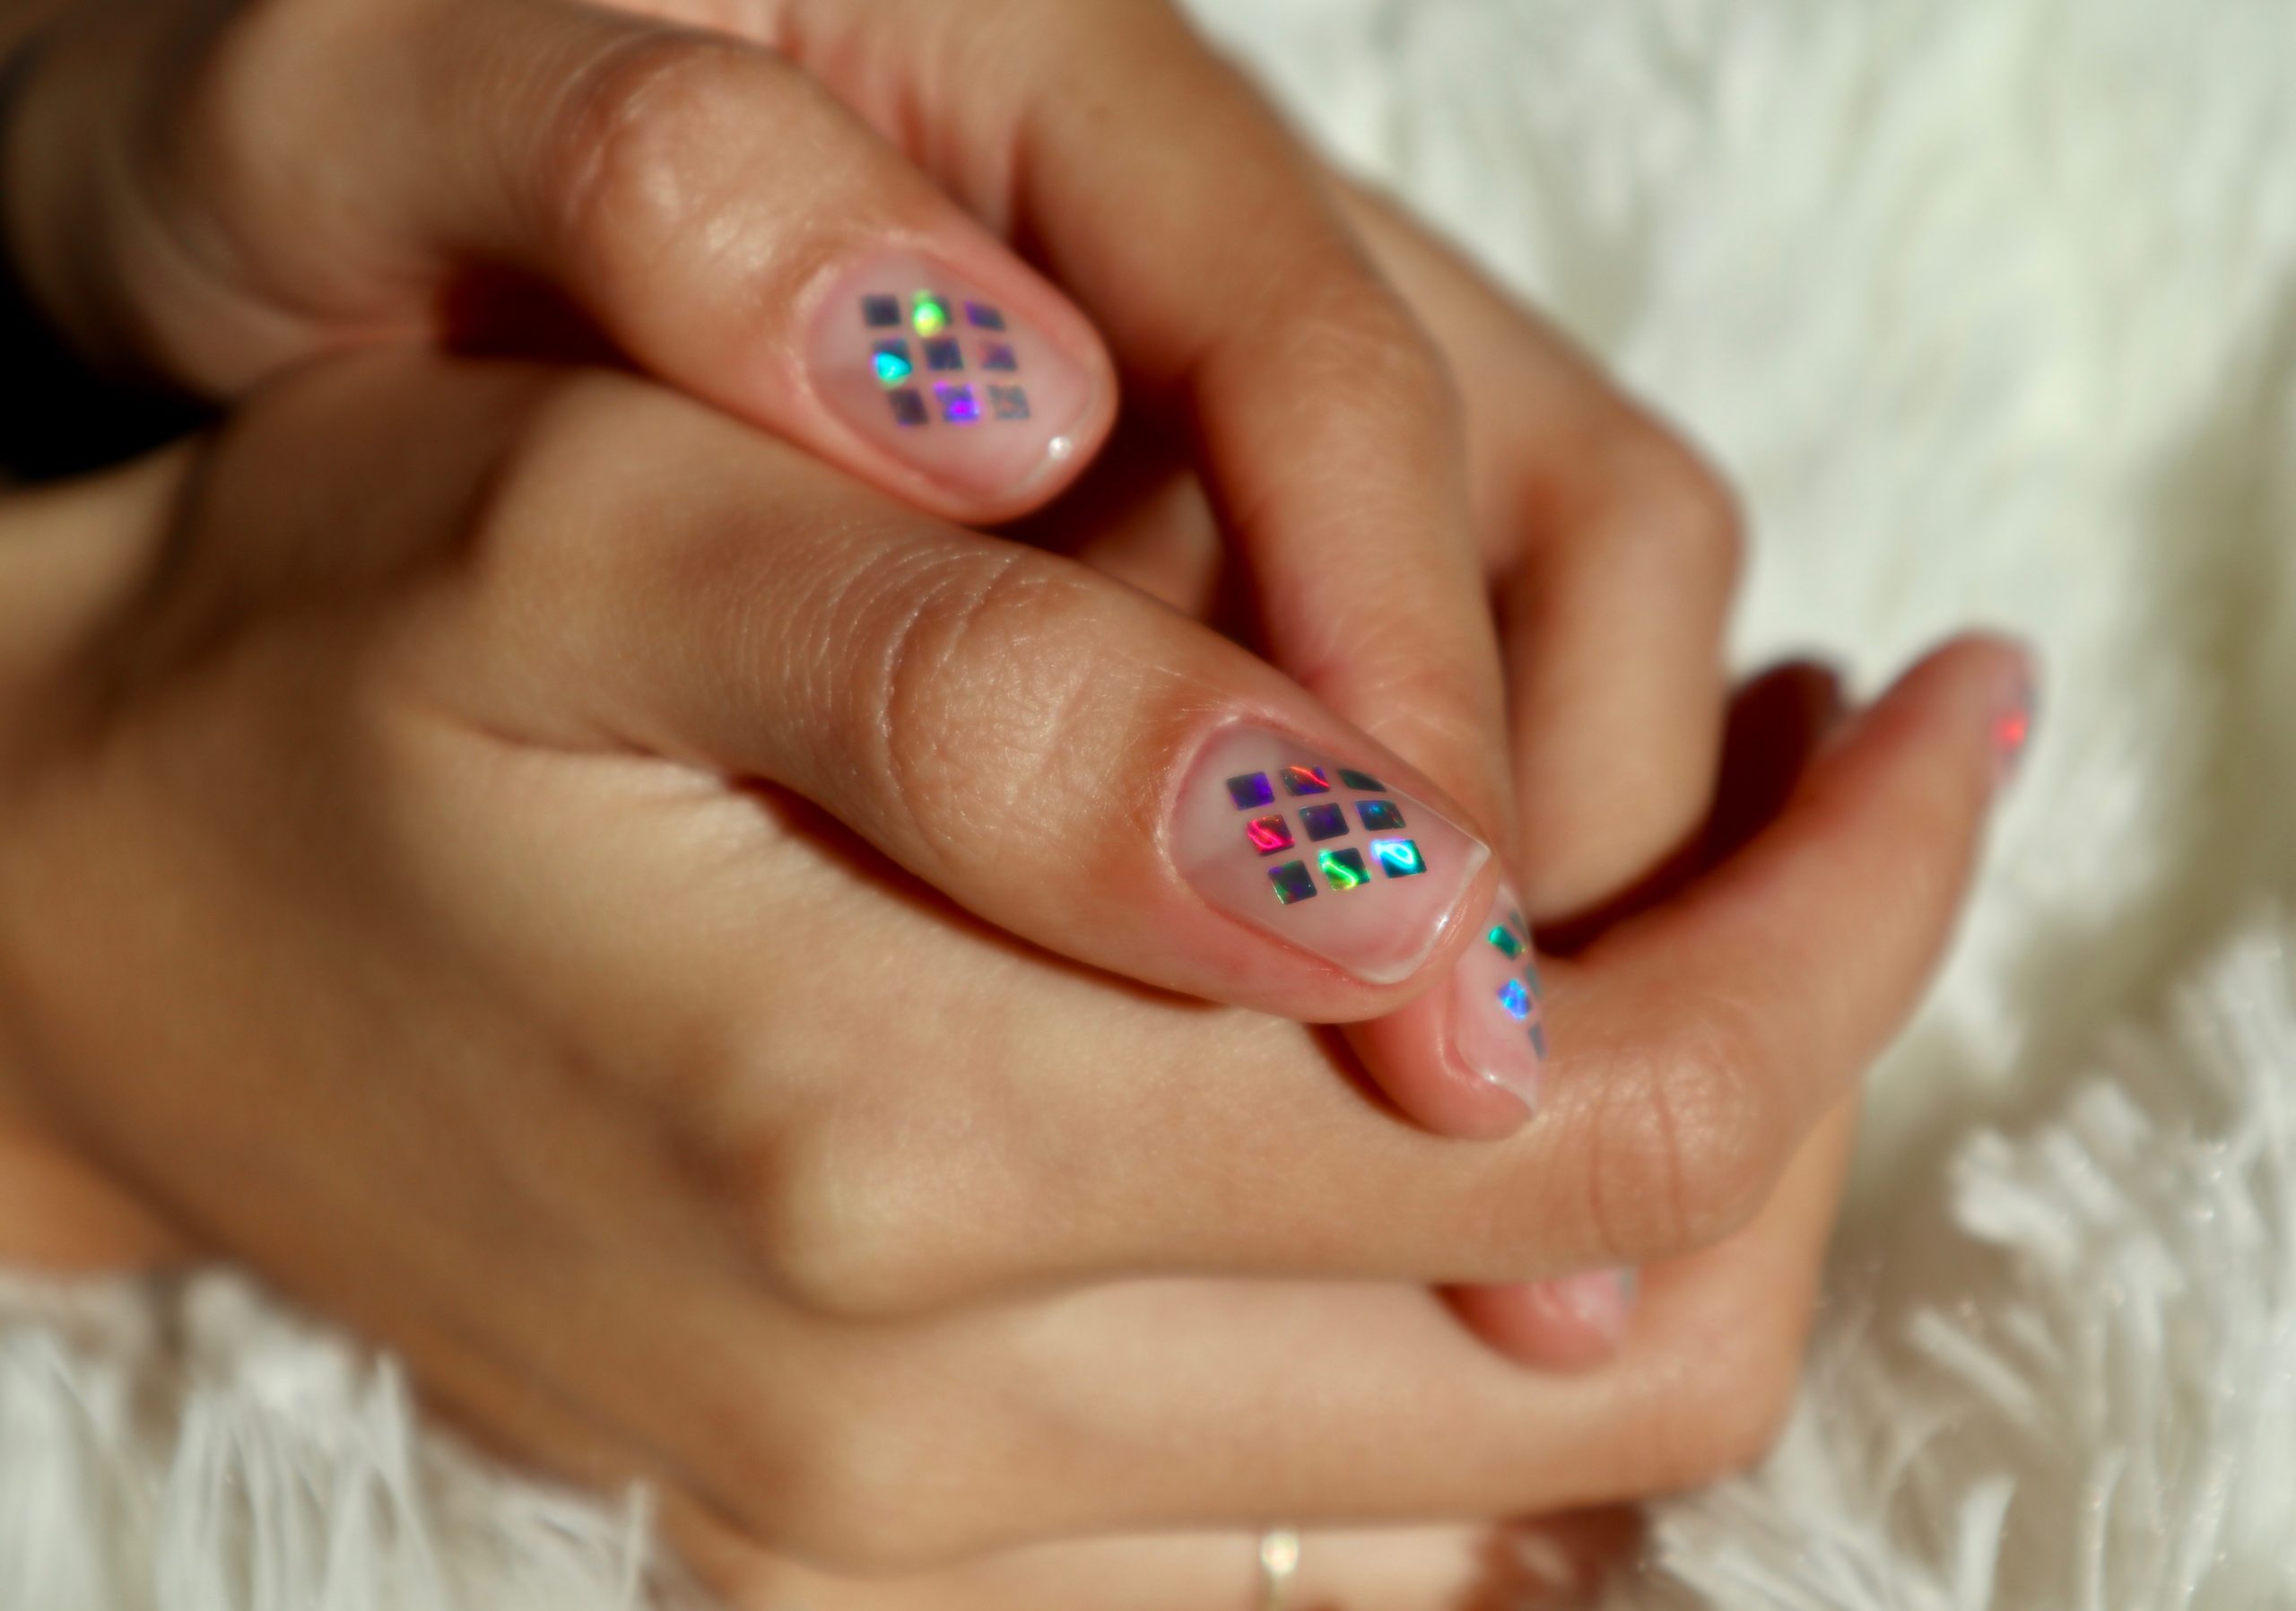
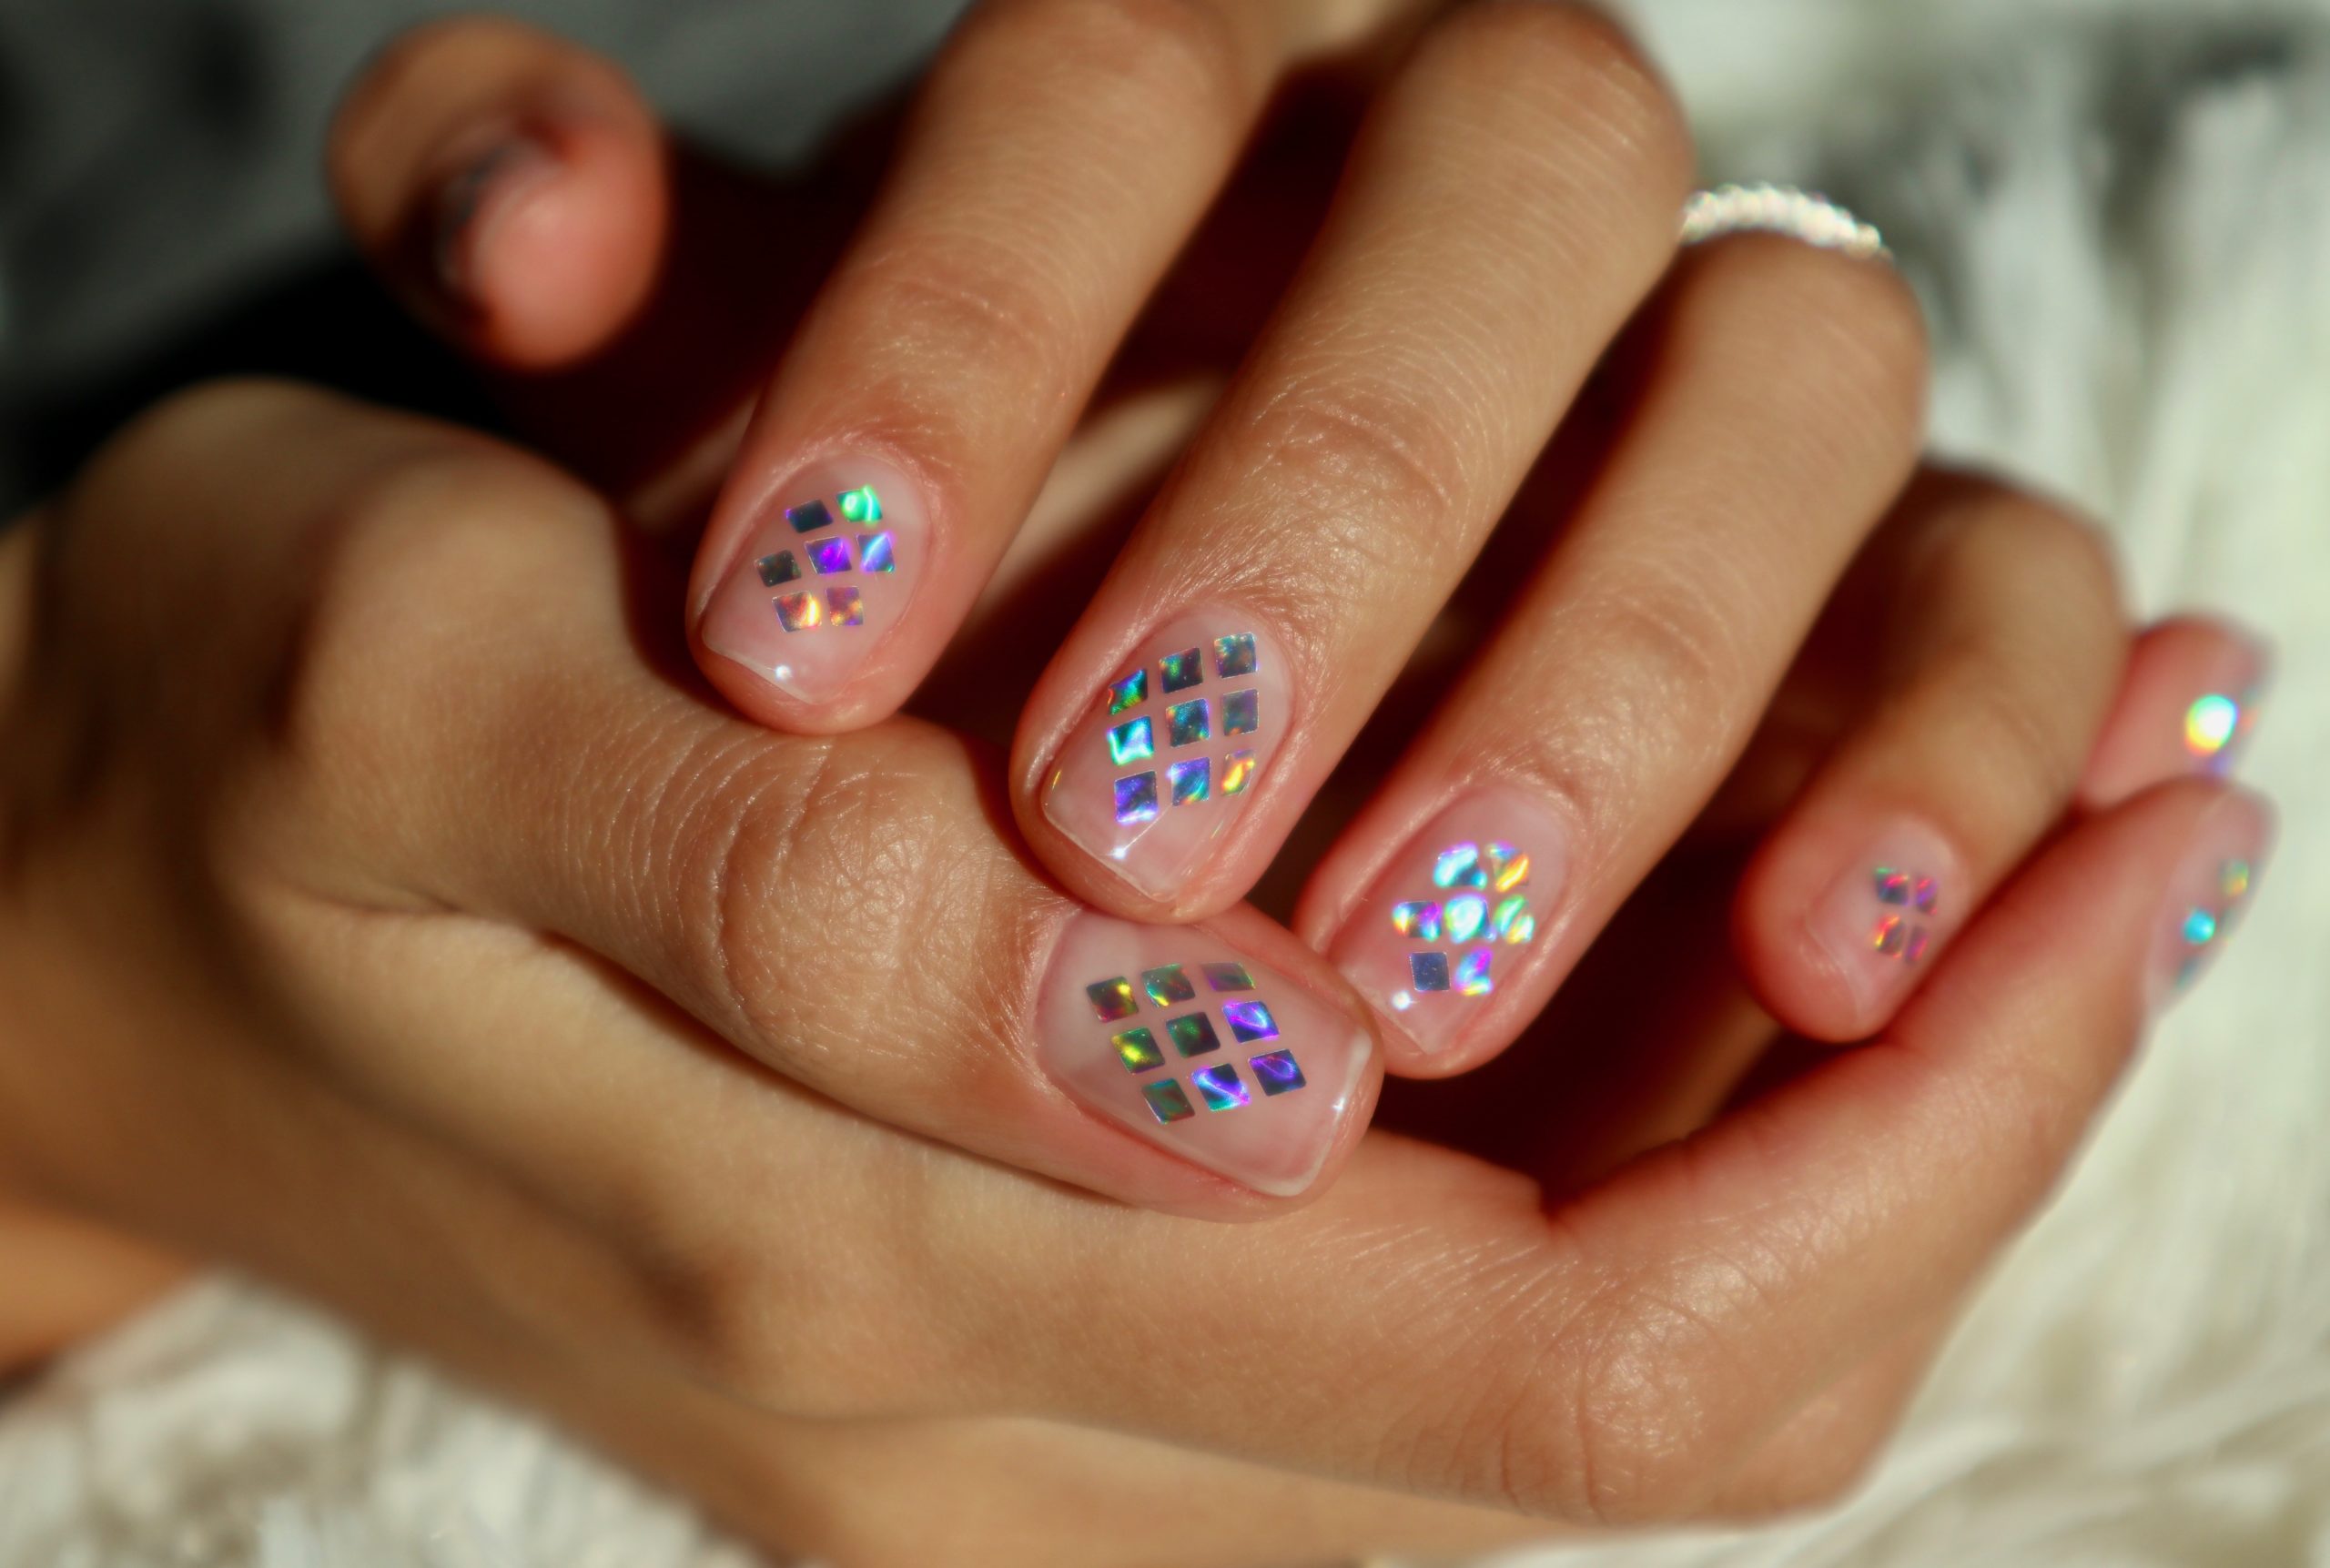
Nail stickers might possibly be the easiest way to spice up a set of nails, but not so much if they don’t last. Here are my tips and tricks to get those damn stickers to STICK and stay there for up to 3 weeks.
Before any application, always make sure nails are prepped for the nail gods. I know I talk about prep A LOT, but sets will only last as good as prep allows. Be patient and thorough with this step. Take the damn time to perfect this step because you don’t want to be re-doing your nails (or a clients nails) in 2 days due to lifting or peeling.
Watch my tutorial on prep here.
Prep is step 1. Now we are ready for step 2: base.
Step 2: Base/Foundation
When doing base, make sure the product is thin and application covers the entire nail surface. Get close to the side walls and cuticle area, but not too close that it floods (this causes lifting). Cure 30 seconds LED or 2 minutes UV.
Step 3: Structure
I use Gelish Structure for strength. Since I am not using an actual nail color (for this look), the Structure replaces the strength I would normally get from 2 coats of polish. Application should be a little thicker than base/foundation. Cure 30 seconds LED or 2 minutes UV.
Step 4: Wipe with Acetone/Alcohol
In order for the stickers to adhere properly, the tacky layer needs to be removed after curing. Use a lint-free wipe, moisten with acetone or alcohol and thoroughly wipe the nails until they are matte and dry looking.
Step 5: Apply Stickers
Apply any sticker to the nail. Once on the nail, make sure the edges are laying flat. If there’s any lifting, the stick will not seal properly. I use my finger, thumb nail, or tweezers to go over the entire sticker and make sure there are no bumps, creases, or lifting corners.
Pay special attention to smaller nails (ring and pinky finger). The curve on these nails are greater than the others and stickers will want to lift naturally because of that.
Step 6: Seal Stickers
I use Gelish Structure (same product as Step 3) to seal stickers in. Apply a coat over the entire nail making sure to completely encapsulate the sticker. Especially the corners. This coat should be thin-ish, but not too thin. I usually dab my brush over the corners of the sticker to give it a little extra seal. Cure 30 seconds or 2 minutes LED.
If you’re having issues with flooding, you can also do 2 thin coats. Example: apply Structure, cure, apply a second coat, cure. This method works better if you are new to using gel polish.
Either way works, so do what’s right for you!
Step 7: Top Coat
Apply top coat like you would normally. Cure 3o seconds LED or 2 minutes UV.
Step 8: Wipe with Acetone/Alcohol
Use a lint-free wipe, moistened with acetone/alcohol to wipe each nail. At this point the nail should be completely smooth and you should not be able to feel any part of the sticker. If you feel a small piece of the sticker, apply another layer of top coat and dab over the area of concern. Cure.
Step 9: Apply Oil
Finish with a nourishing cuticle oil.
Step 10: ENJOY
VOILA. You did it!!
In this post I mention Gelish Structure a lot. I use it for every set I do on myself and is such a great product for many reasons. Click here for more ways on how it can be used.
I would love to give more info on these holographic stickers, but sadly I purchased them back in 2010 and can’t find them anymore! But on the bright side, there are lots of great options online (Amazon has a good selection).
Leave your comments and questions below. Always happy to hear from you!


